[dropcap]Y[/dropcap]our Mac includes a built-in partition manager and disk management tool known as Disk Utility. It’s even accessible from Recovery Mode, so you can partition your Mac’s hard drive without any special bootable tools.
There’s no need to hunt down paid partition managers or disk-management boot disks when you need to partition your drive, resize partitions, or even securely wipe it. It’s all built in.
Accessing Disk Utility
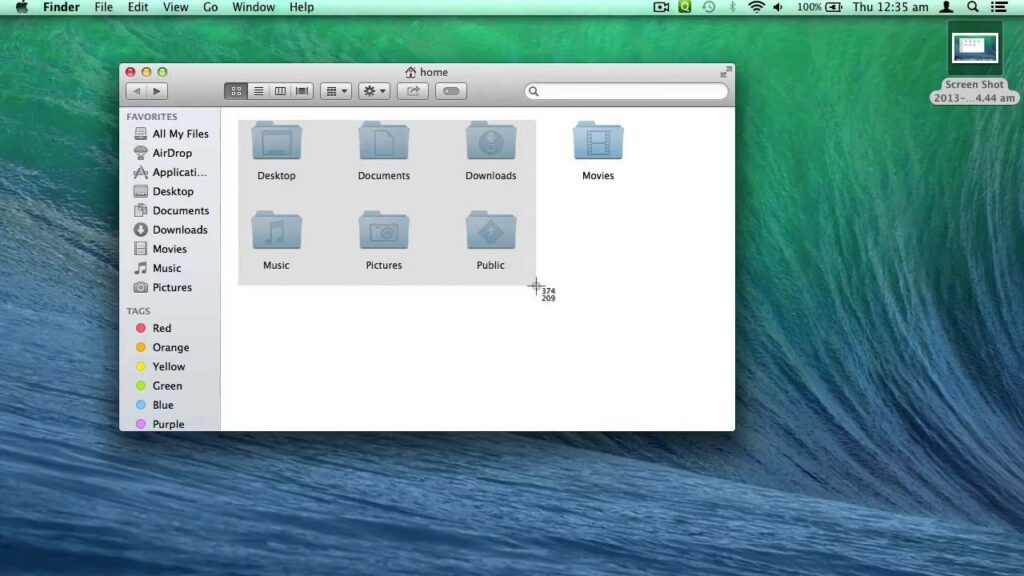
To access the Disk Utility in Mac OS X, just press Command+Space to open Spotlight search, type Disk Utility, and press Enter. You can also click the Launchpad icon on your dock, click the Other folder, and click Disk Utility. Or, open a Finder window, click Applications in the sidebar, double-click the Utilities folder, and double-click Disk Utility.

To access the Disk Utility on a modern Mac — regardless of whether it even has an operating system installed — reboot or boot up the Mac and hold Command + R as it boots. It’ll boot into Recovery Mode, and you can click Disk Utility to open it up.
In Recovery Mode, the Mac runs a special sort of recovery environment. This allows you to use Disk Utility to wipe your entire drive or repartition it.

Partition Drives and Format Partitions
Disk Utility shows internal drives, connected external drives (like USB drives), and special image files (DMG files) you can mount and access as drives.
On the left side of the window, you’ll see a tree of drives and their internal partitions. Each “parent” drive is a separate physical drive, while each little drive icon other it is a partition on that drive.
To manage your partitions, click a parent drive and select the Partition heading. You can adjust the partitioning layout scheme, resize partitions, delete partitions, create partitions, rename partitions, and reformat them with a different file system from here.
Many of these operations are destructive, so be sure you have backups first. If you want to repartition your system drive, you’ll need to do this from within Recovery Mode.

First Aid
The Disk Utility’s First Aid tab includes a few options that can help fix disk problems, including a “Verify Disk” button that checks for problems on the drive and a “Repair Disk” button that can fix those problems.
There are also “Verify Disk Permissions” and “Repair Disk Permissions” buttons you can use to fix permissions problems on your Mac OS X hard drive. If you’re experiencing system issues with Mac OS X, you may need to repair your disk permissions from here. If these buttons are grayed out, be sure to select your Mac system partition first.

Secure-Erase a Partition or Drive
The Erase option here allows you to erase an entire hard disk or partition. You can also choose to only erase its free space. Click “Security Options” here to select a number of passes to overwrite the drive with. One pass should be good enough, but you can always do a few more if you feel like it. The maximum number is unnecessary.
Note that this feature will only be useful on mechanical drives, as you shouldn’t be able to recover deleted data from a mechanical hard drive. Don’t perform a secure erase on a solid-state drive, such as the ones built into modern Mac Books — that’ll just wear down the drive for no advantage. Performing the “fastest” erase of the internal drive from recovery mode will erase everything.

Create and Work With Disk Images
Click the File menu in Disk Utility and use the New menu to create blank disk images or disk images containing the contents of a folder — these are .DMG files. You can then mount that disk image file and write files into it. This is particularly useful because you can encrypt that DMG file, creating an encrypted container file that can store other files. You can then upload this encrypted DMG file to cloud storage locations or save it on unencrypted removable drives.
The Convert and Resize Image buttons will allow you to manage that disk image from the Disk Utility window.

Copy Volumes and Restore Disk Images
The Restore feature allows you to copy one volume to another. You can use it to copy a partition to another partition, or to create a disk image that contains an exact copy of a partition. You can then use it to restore a disk image file to a partition, erasing that partition and copying the data from the disk image to it.
Enter the appropriate Source and Destination here to copy one partition to another, create a disk image containing the contents of a partition, or restore a disk image’s contents to a partition.

RAID Setup
The Disk Utility also allows you to set up RAID on a Mac. Combine disks and partitions into one or more RAID sets and choose whether you want to mirror, stripe, or concatenate your data. This is an advanced feature most people won’t need to use.
Mirroring (RAID 1) means data you write to the RIAD is stored on each partition or drive for failsafe purposes. If one drive dies, your data is still available elsewhere.
Striping (RAID 0) will alternate disk writes between one drive and the other for faster speed. However, if one of the drives fails, you’ll lose all the data — so it’s getting more speed at the expense of less reliability.
Concatenation allows you to combine different types of RAIDs to get the benefits of each.

The Disk Utility included with Mac OS X is powerful, and it should handle all the functions you need it to perform. It’s a bit like the Disk Management tool built into Windows, but more capable and easier to access from outside of Windows.